01 · Traditional
4×4 Post Installation
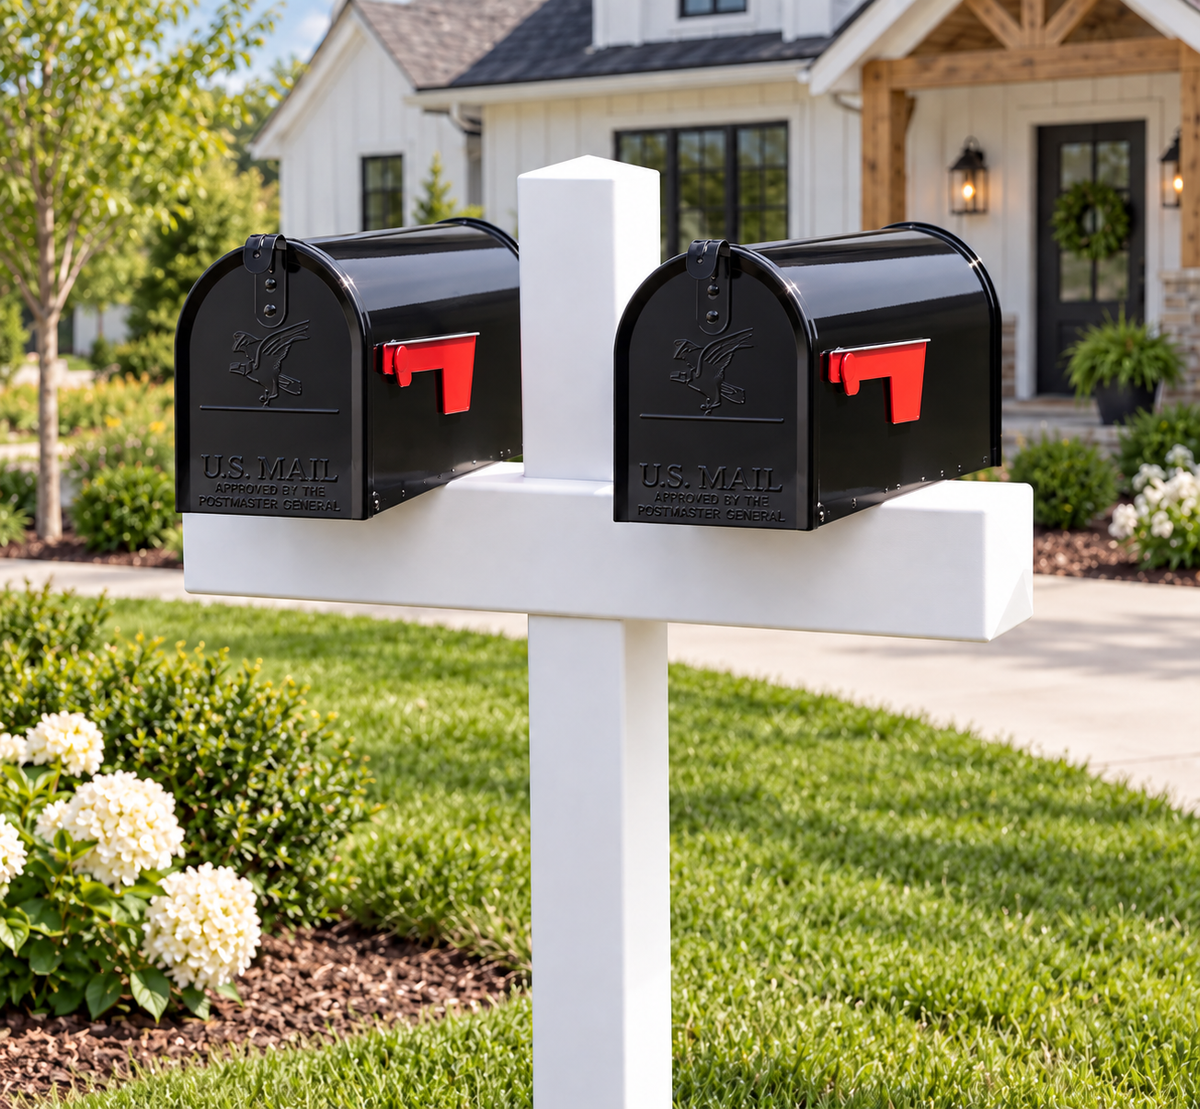
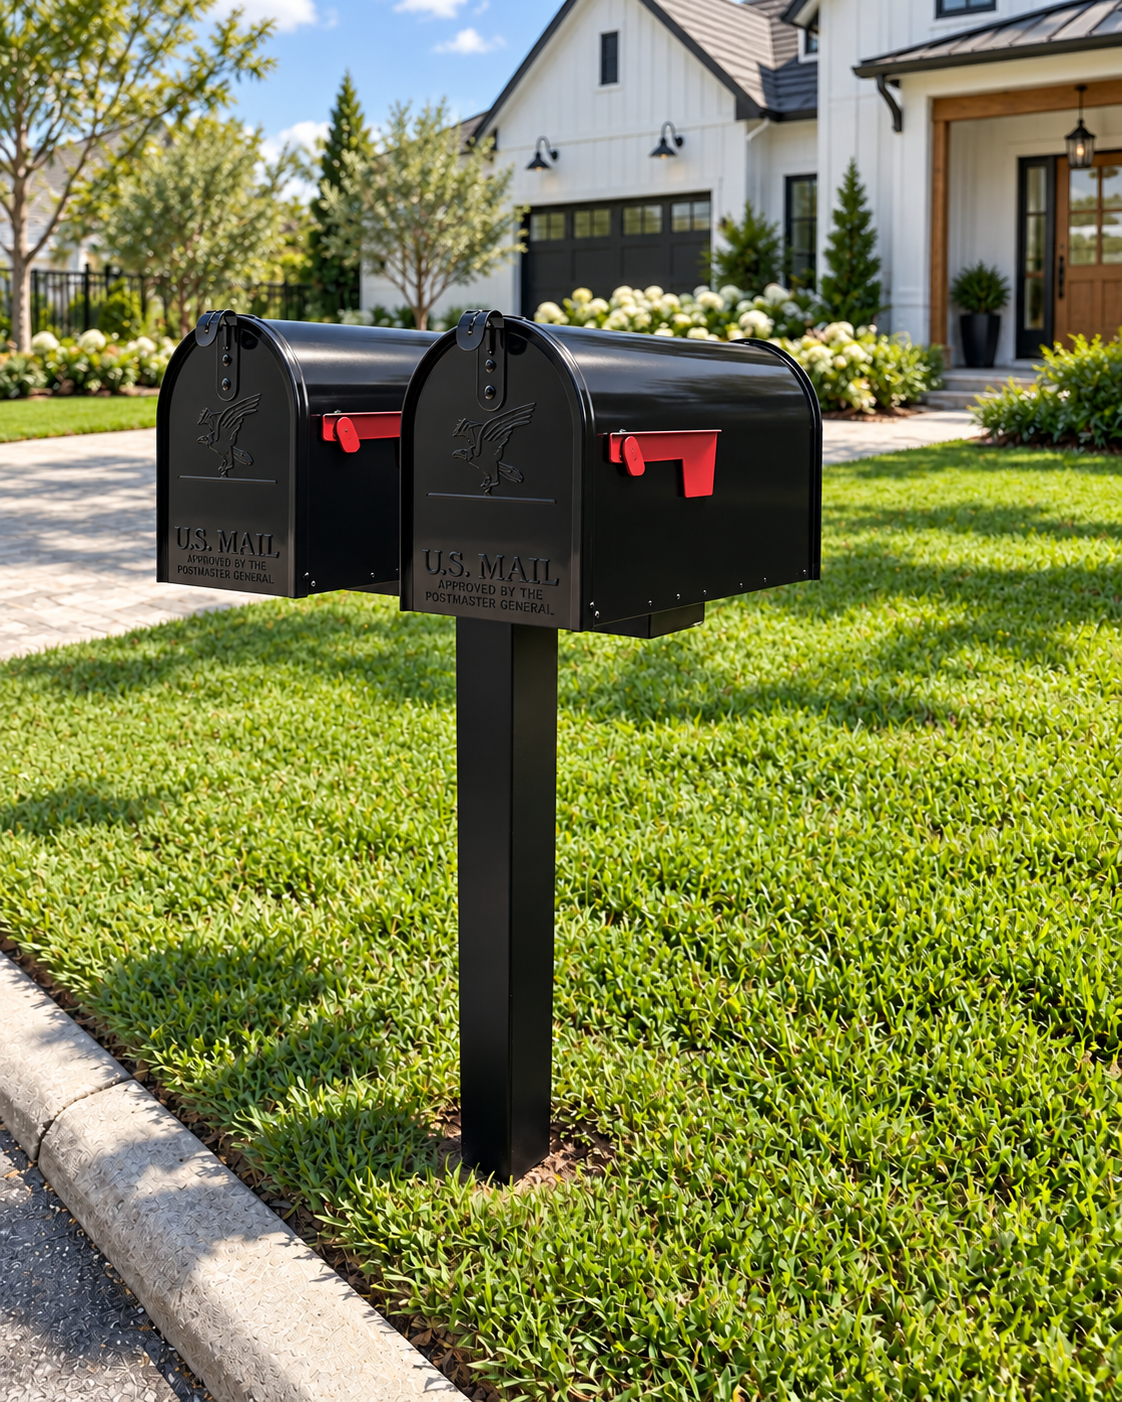
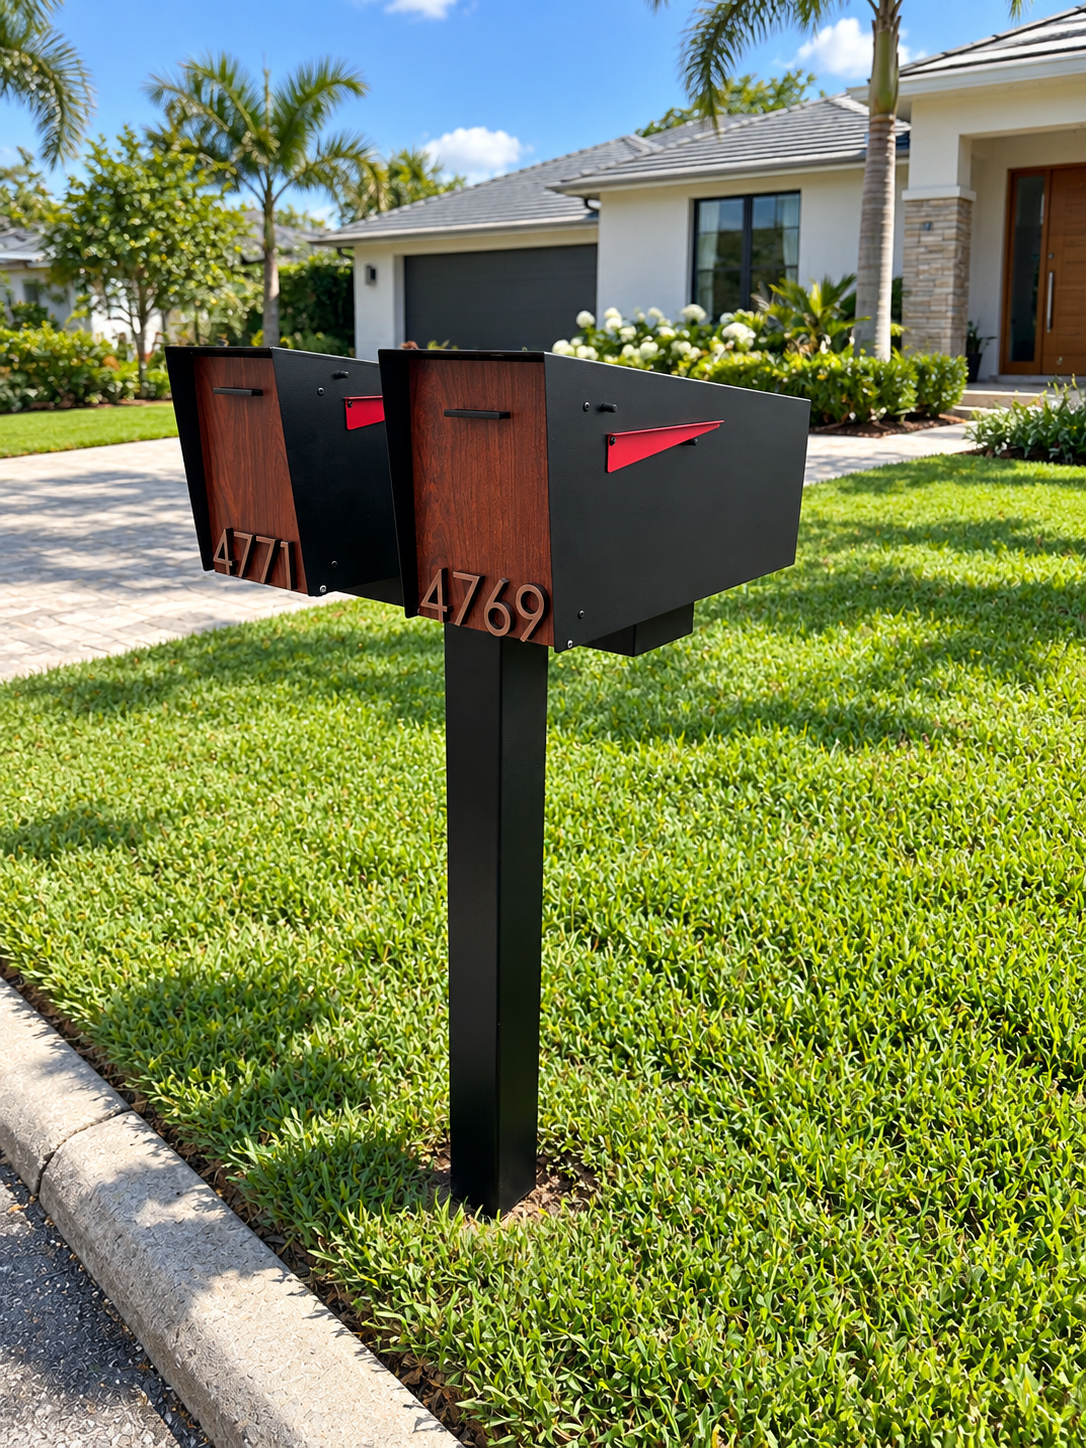
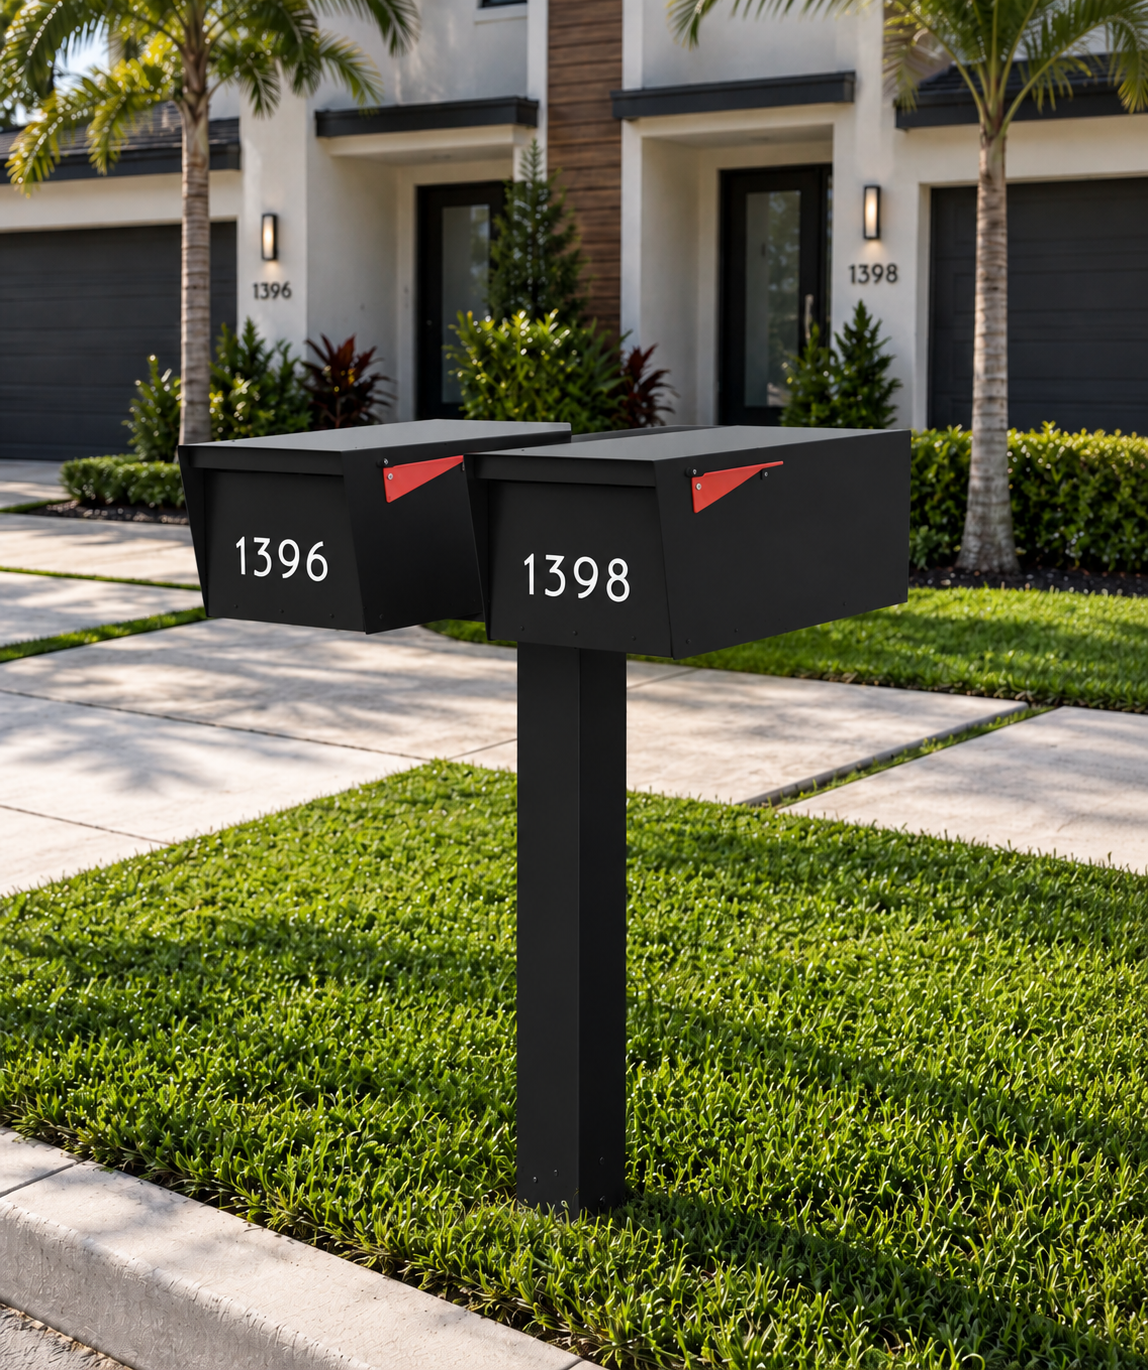
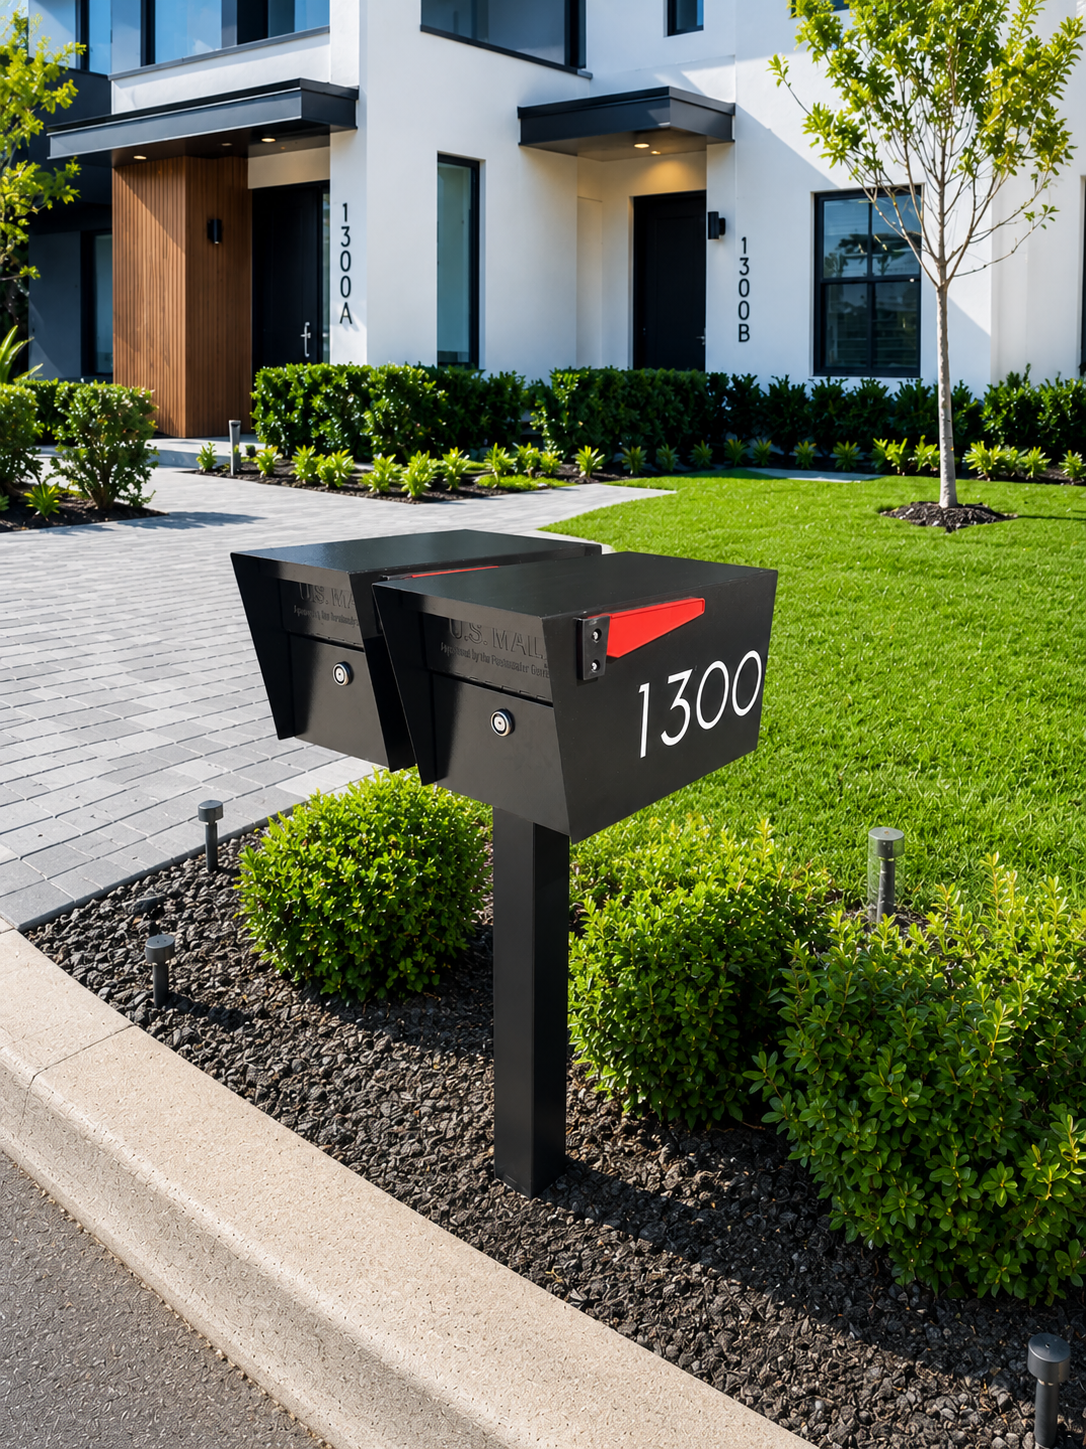
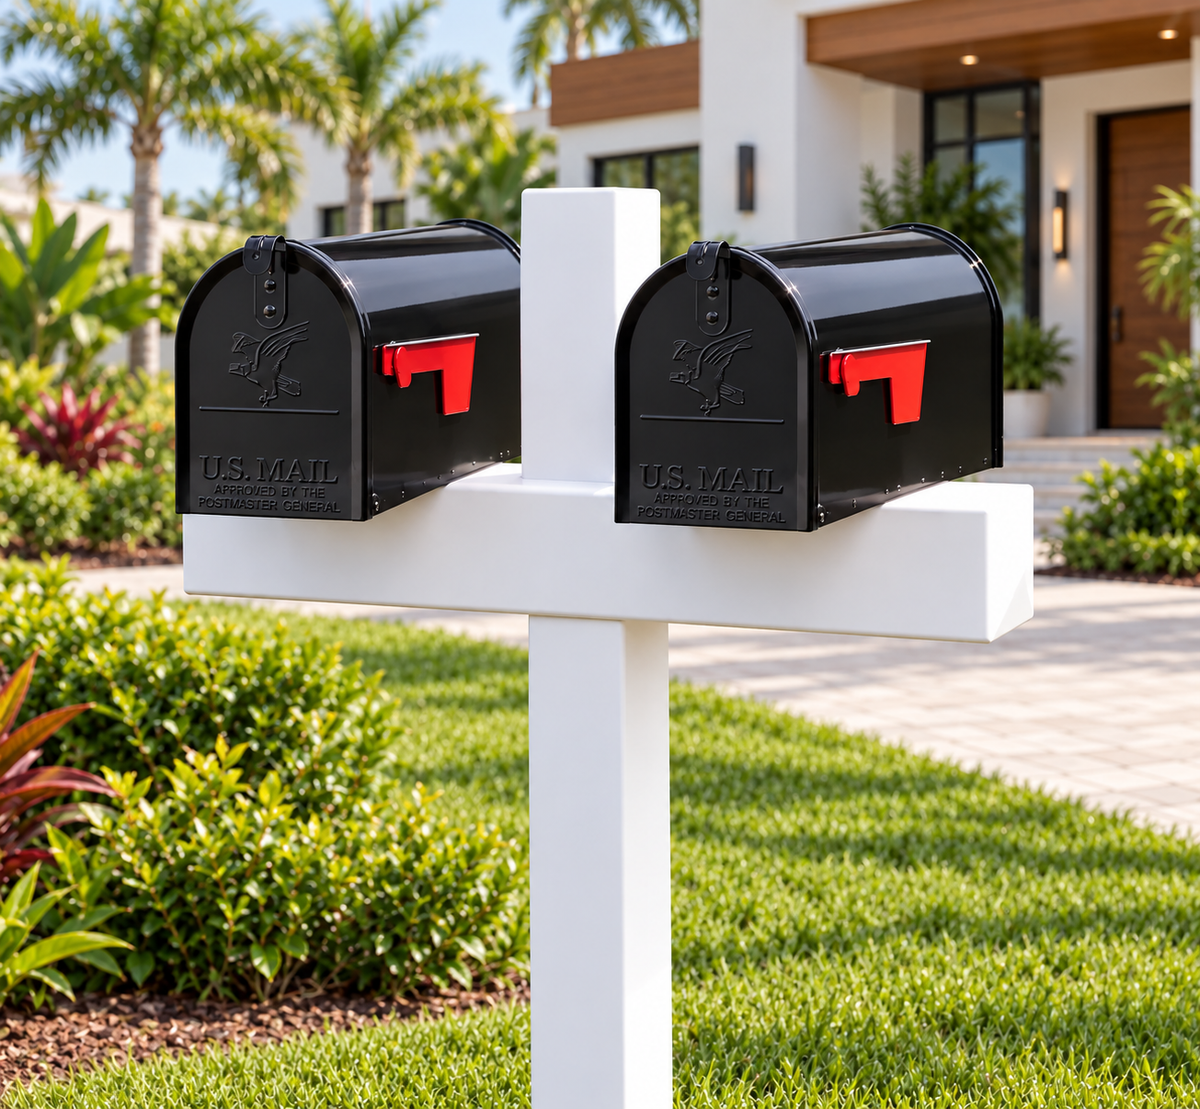
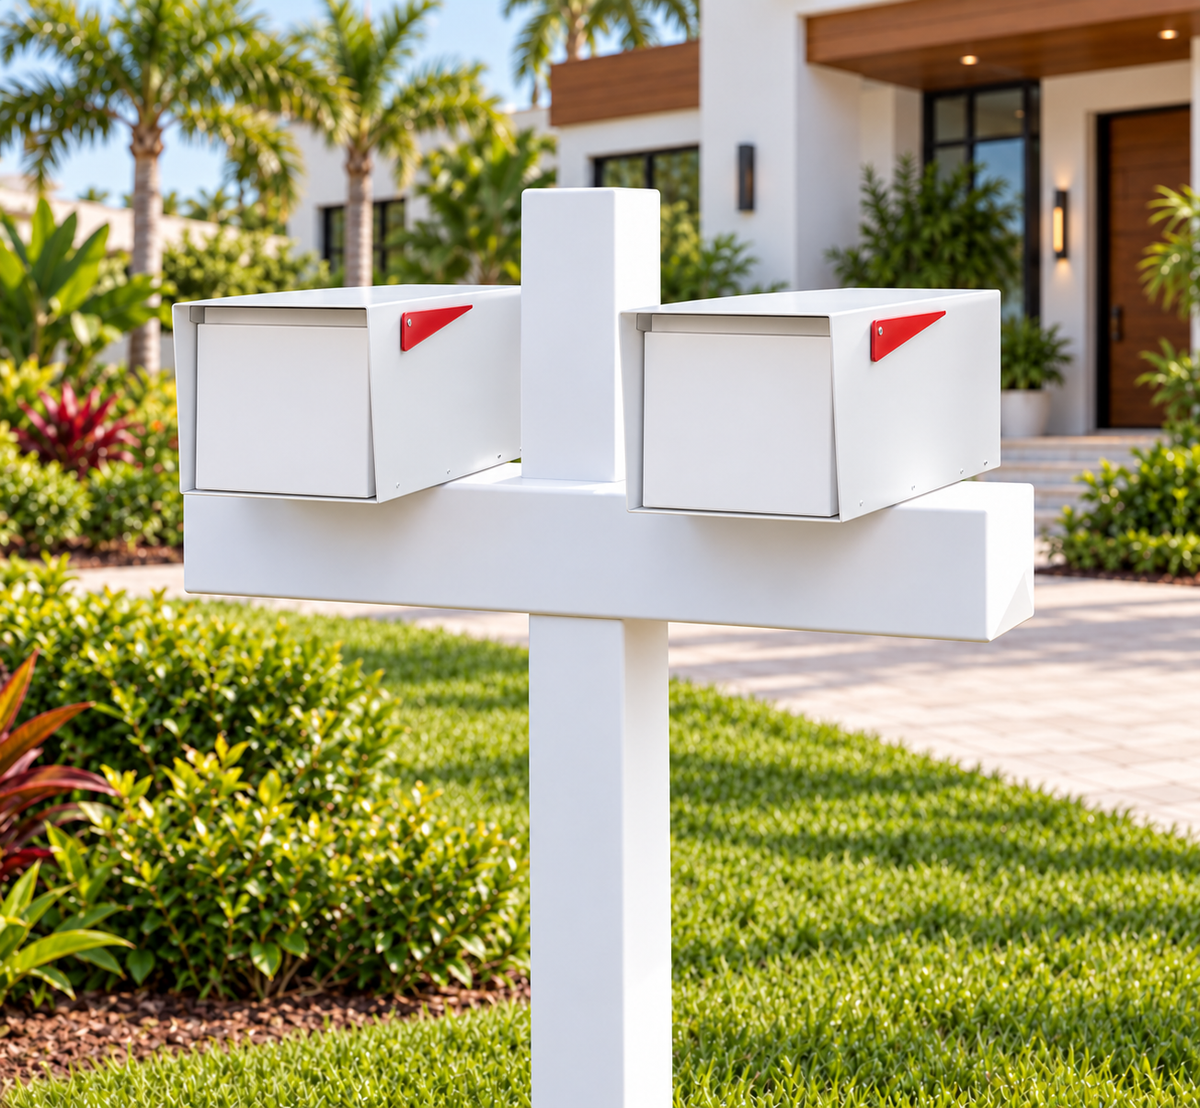
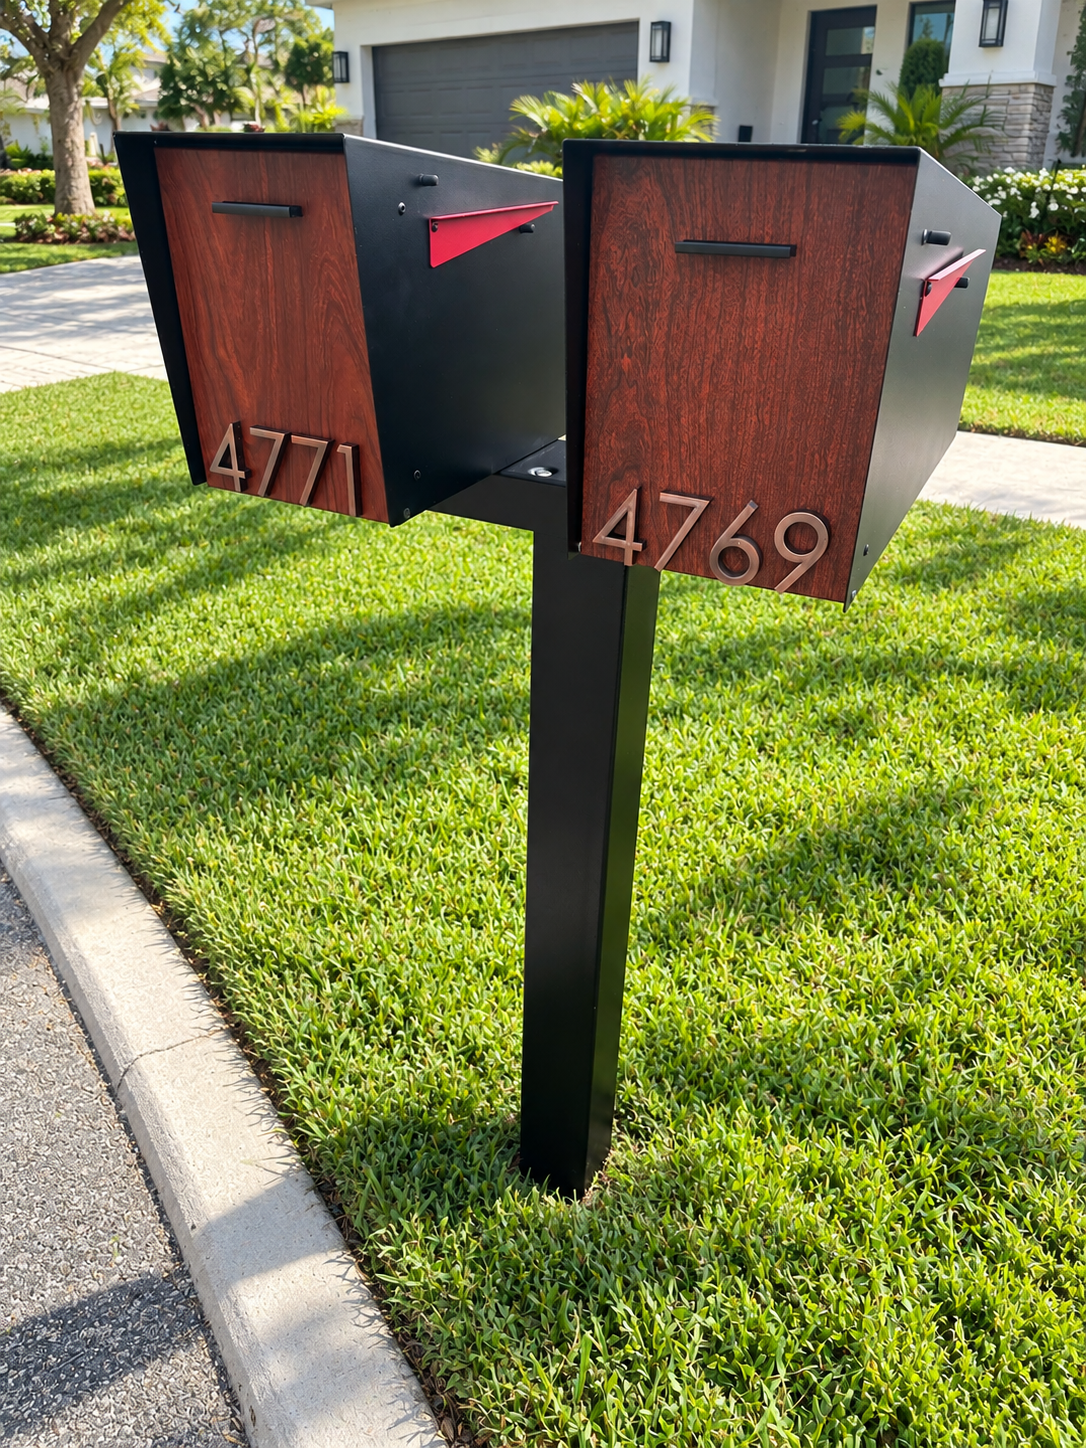
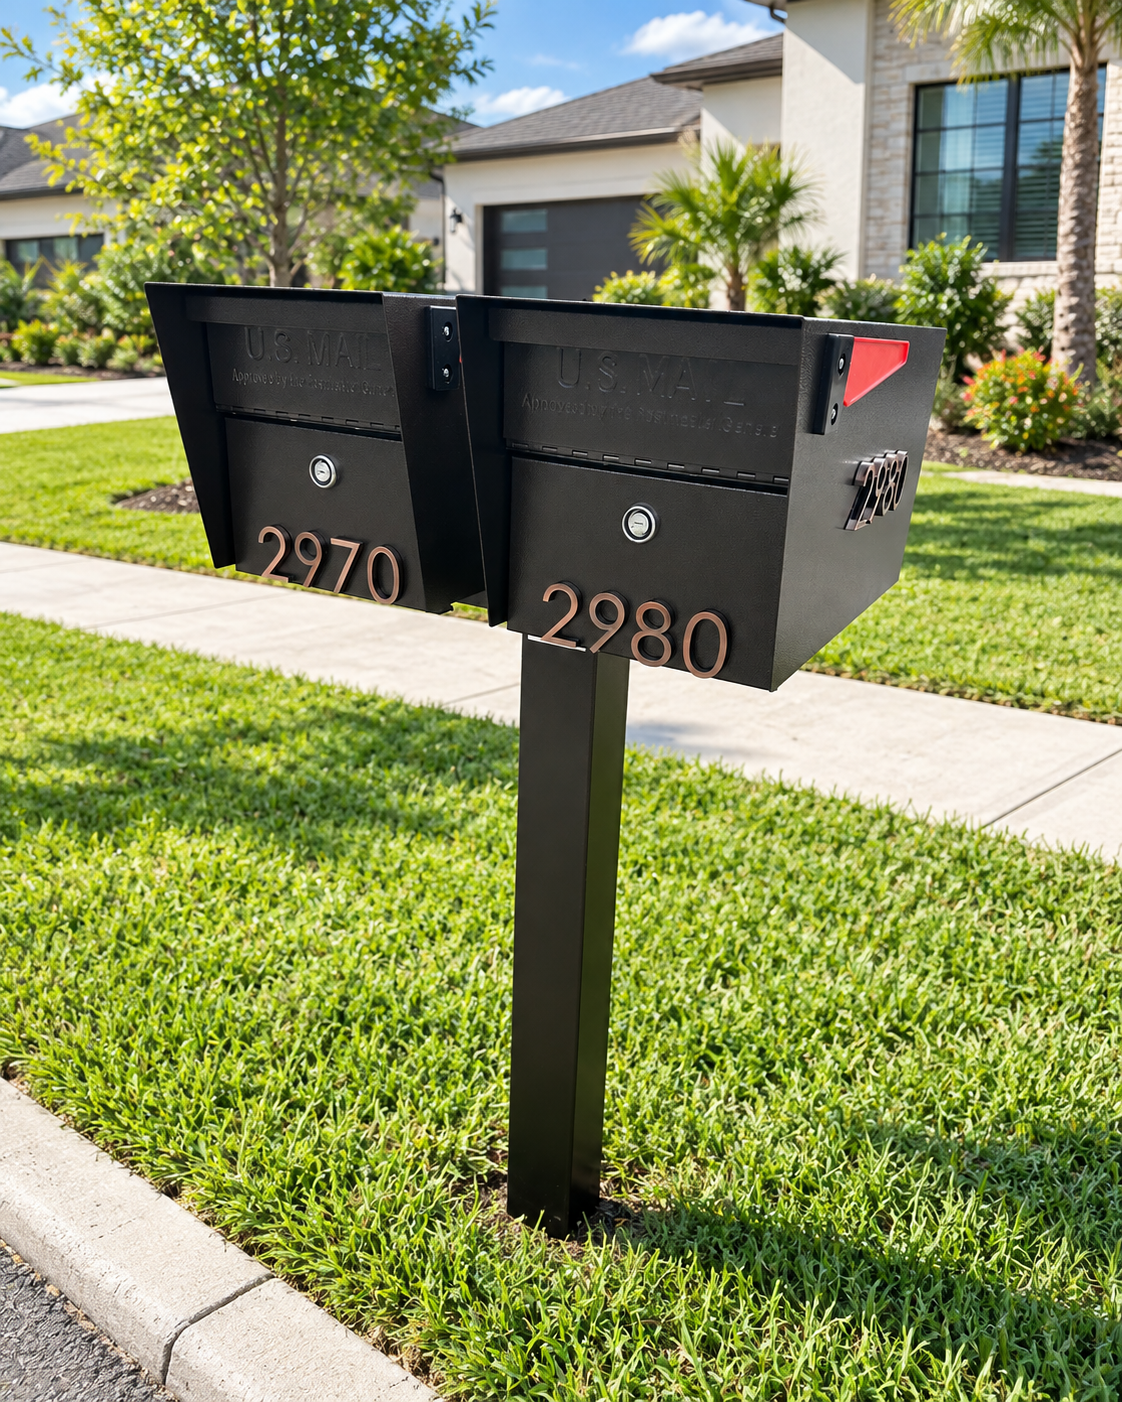
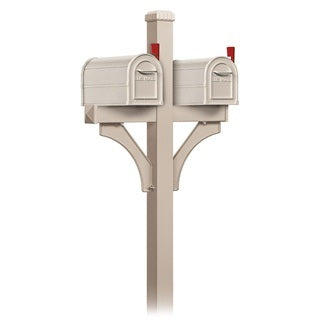
The most common setup. The aluminum leg installs directly into the ground with fast-setting concrete for a clean, durable curbside installation.


Everything you need to assemble, position, and install your Tailor Mail mailbox system with a clean, professional result.
Download Assembly & Installation GuideThe most common setup. The aluminum leg installs directly into the ground with fast-setting concrete for a clean, durable curbside installation.
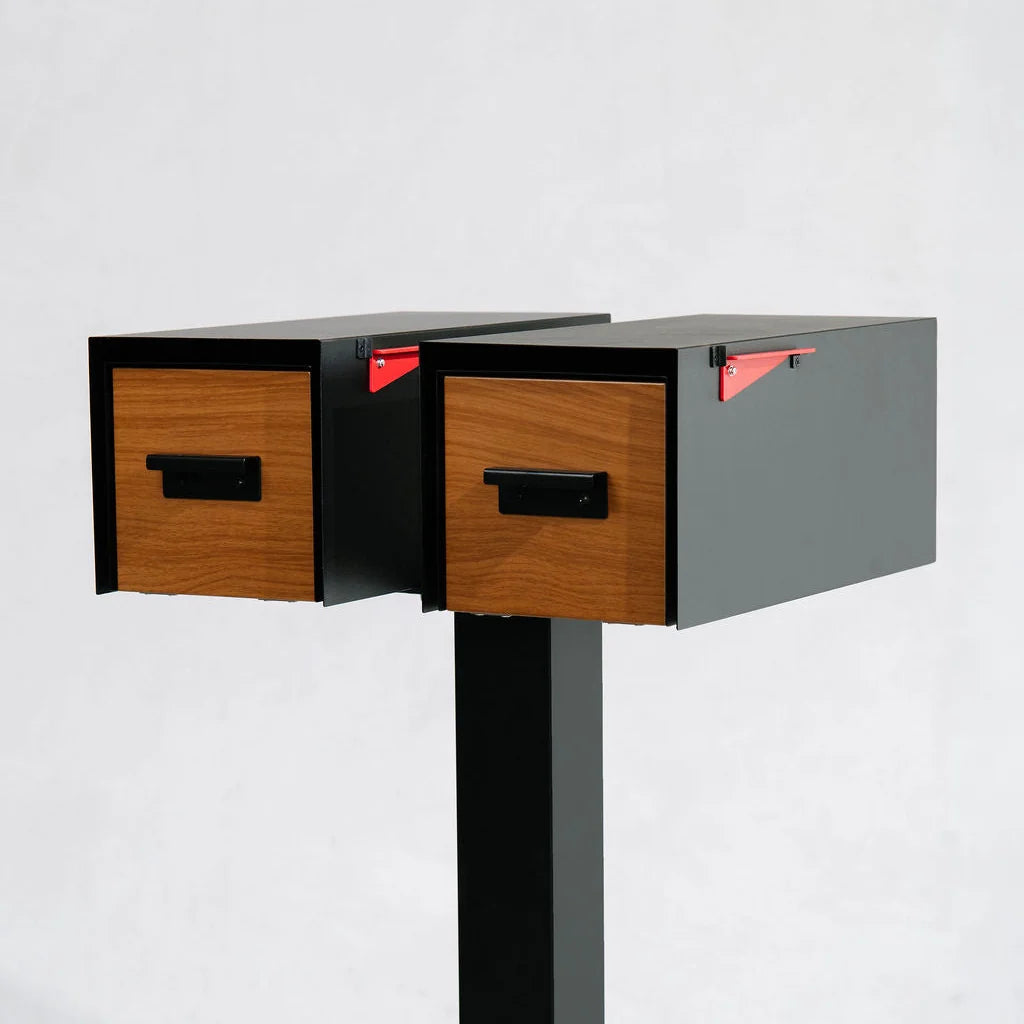
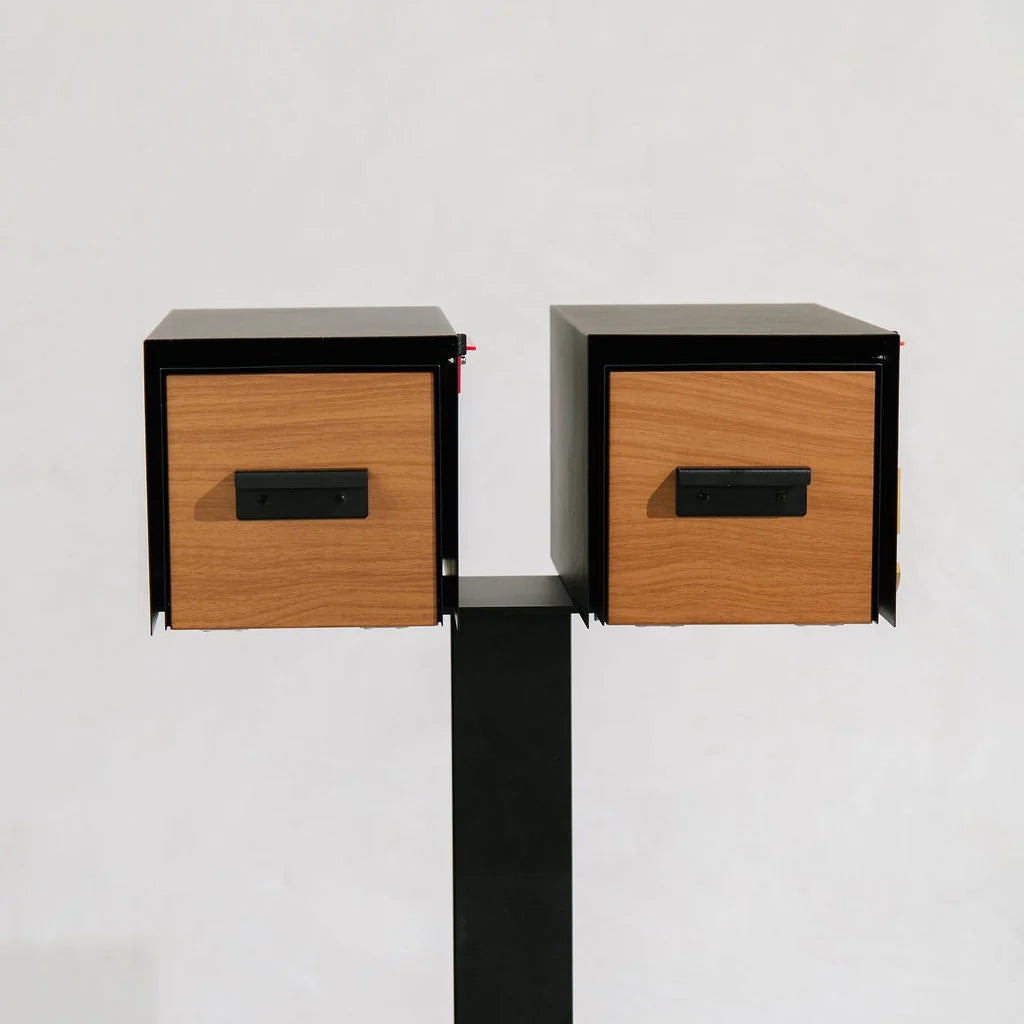
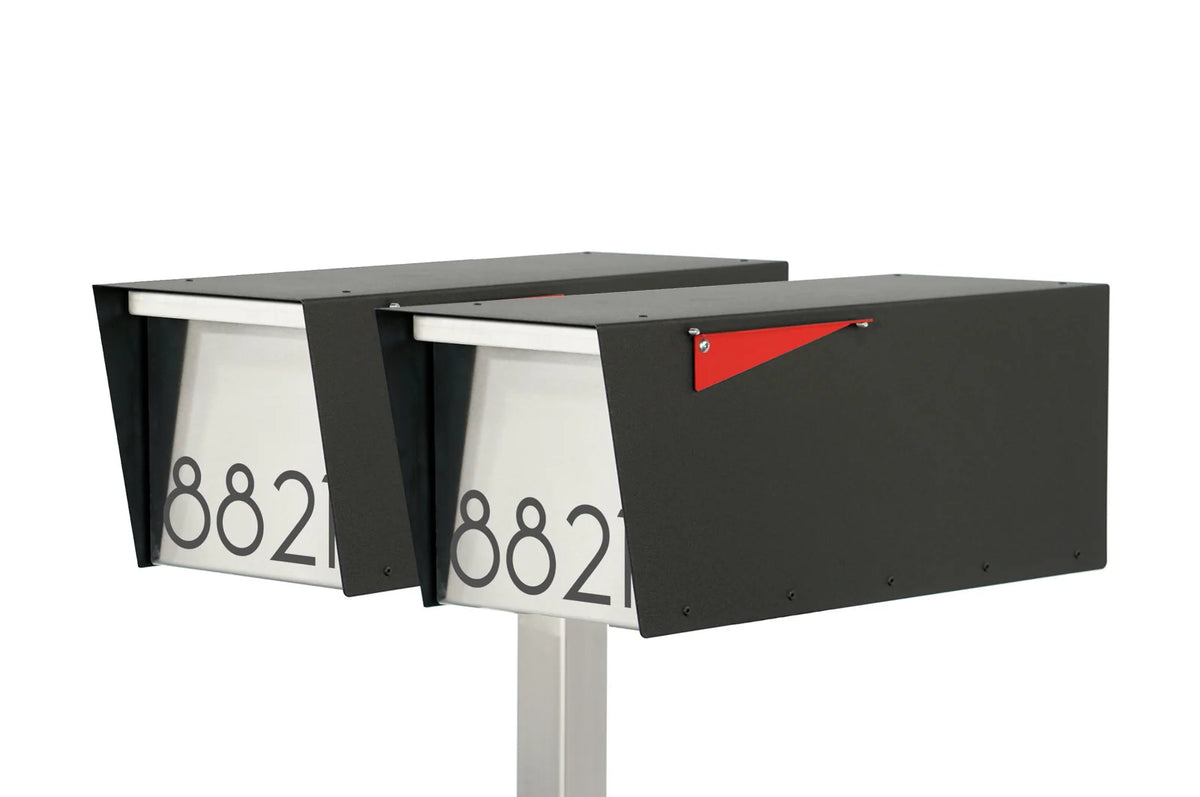
Selected mailbox systems use two slim aluminum legs. Both legs are leveled and secured in concrete for a balanced, modern appearance.
For compatible mailbox systems installed on an existing concrete slab or hard surface using the appropriate mounting plate and anchors.
Read customer experiences with Tailor Mail products, service, shipping, and professional installation.
Send us the details and we’ll help you confirm the best assembly or installation setup for your mailbox.
Featured collection